-
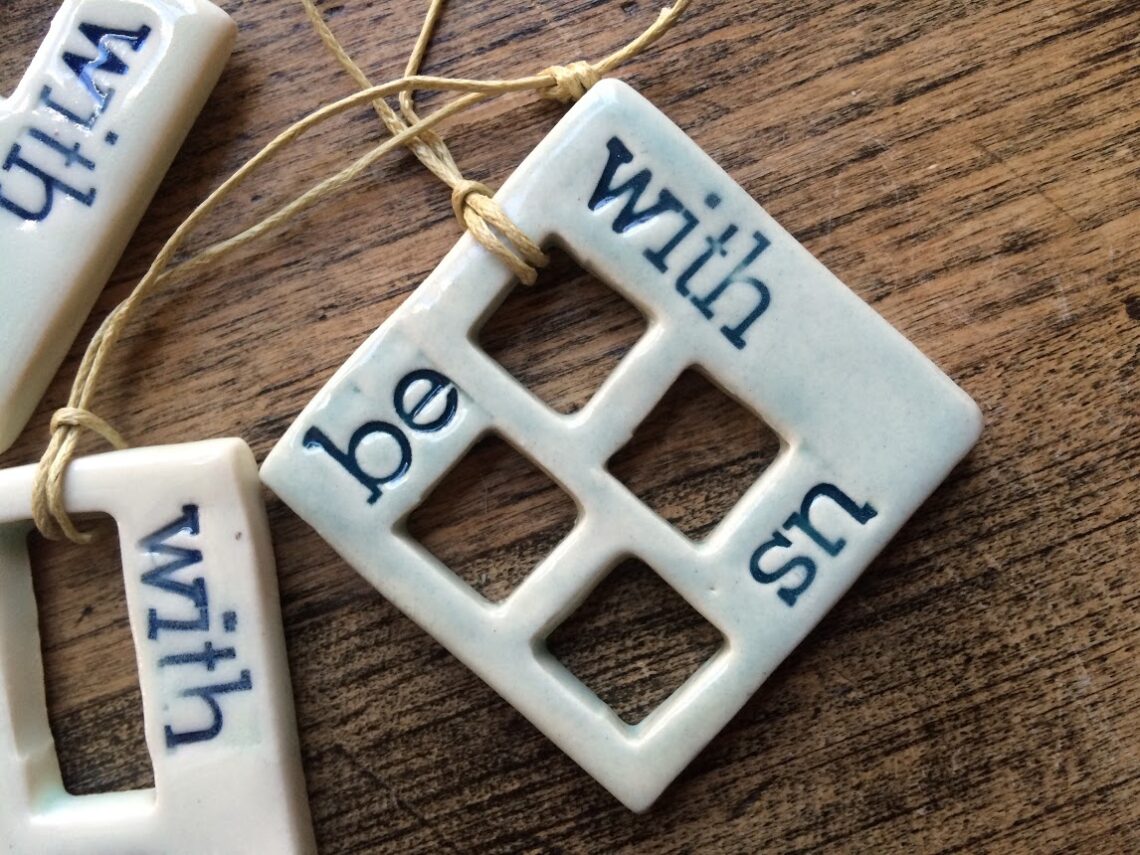
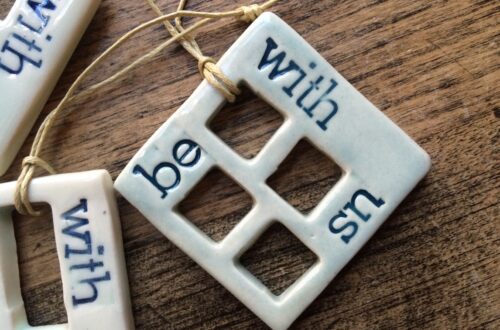
Easy Handcrafted Ceramic Gift Ideas
If you are a hobby potter, you too are probably known and appreciated for sharing the abundance of your kiln. The following is a list of fun, easy projects that made sweet gifts for family, friends, neighbors, etc. If you can get your hands on a set of vintage letterpress (I found sets on Etsy many years ago), it’s a great way to add extra personalization like a date or fun message.
-
It’s Another New Year
I don’t really buy into the whole new year, fresh start, clean slate bit. All of me at 11:59 pm on December 31 carries across to 12:00 am January 1. Chances are high that I’m not changing. Not really. That Costco box of Cheez-its will still be on the counter the next morning, and I will still be sneaking 2-3 crackers at a time and letting their tangy goodness dissolve in my mouth. If you’ve never munched on chocolate and…
-
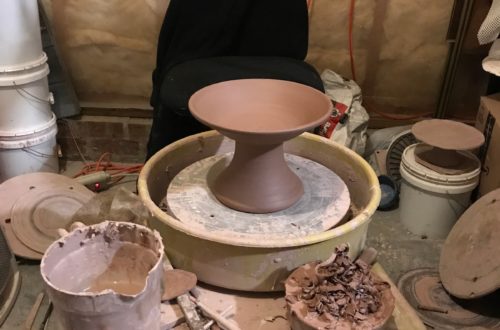
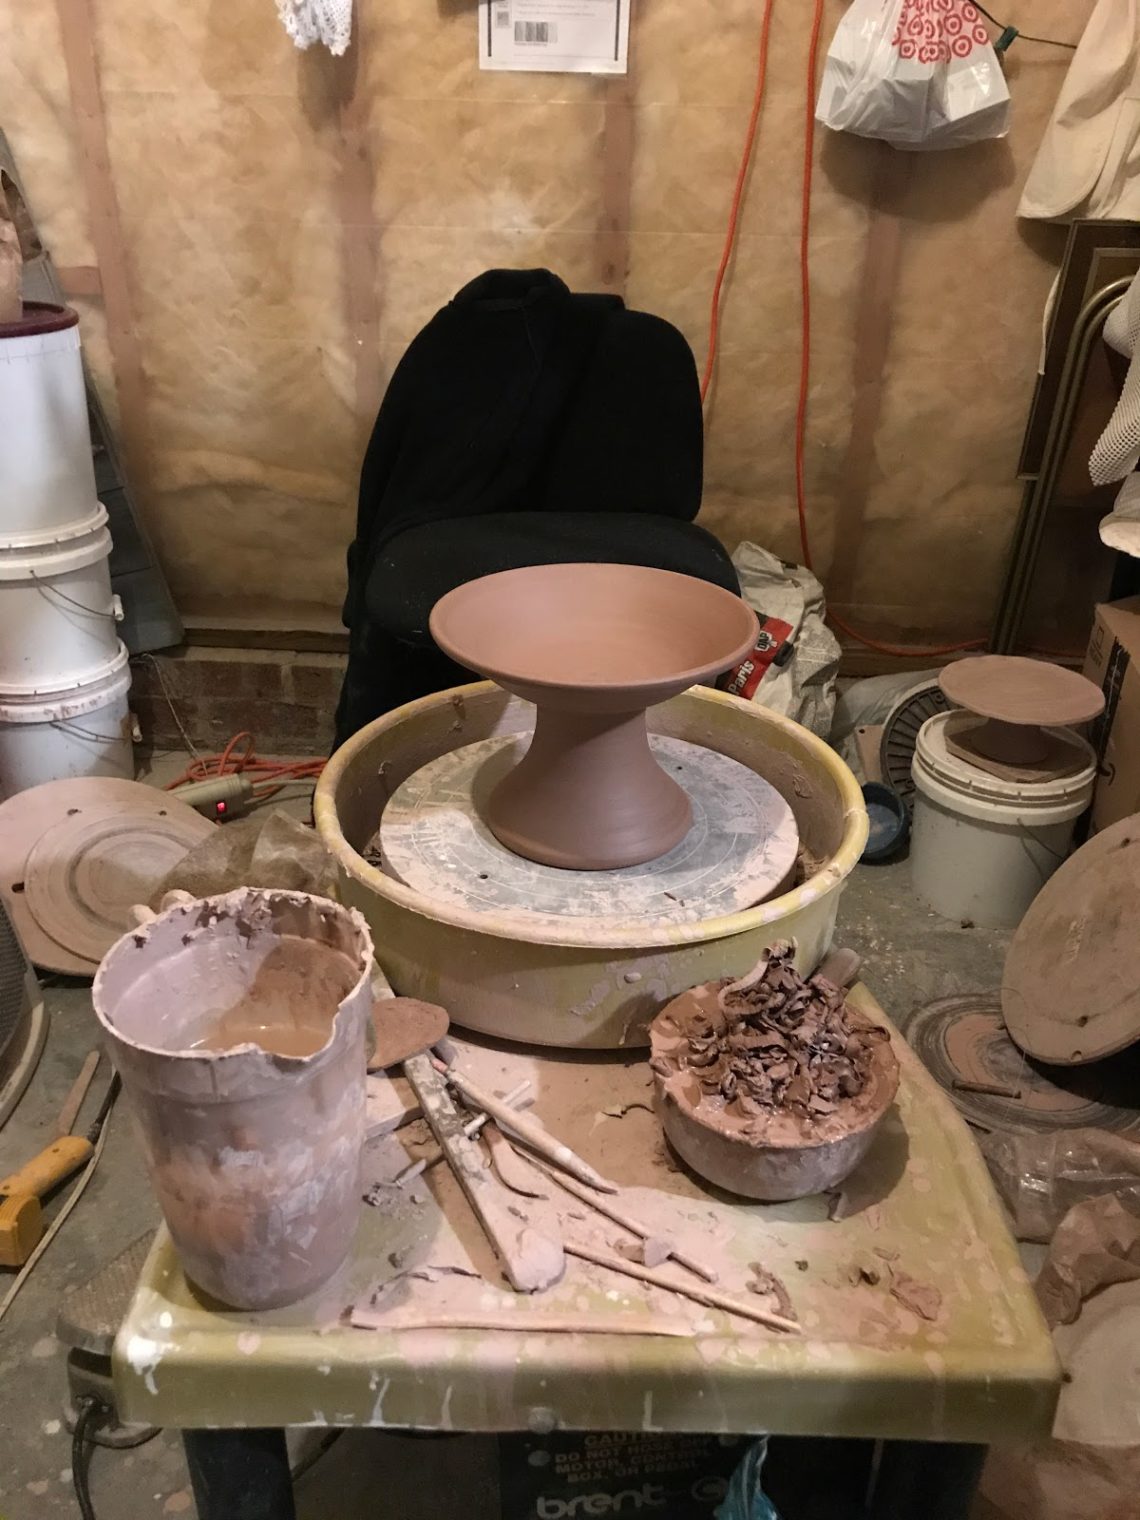
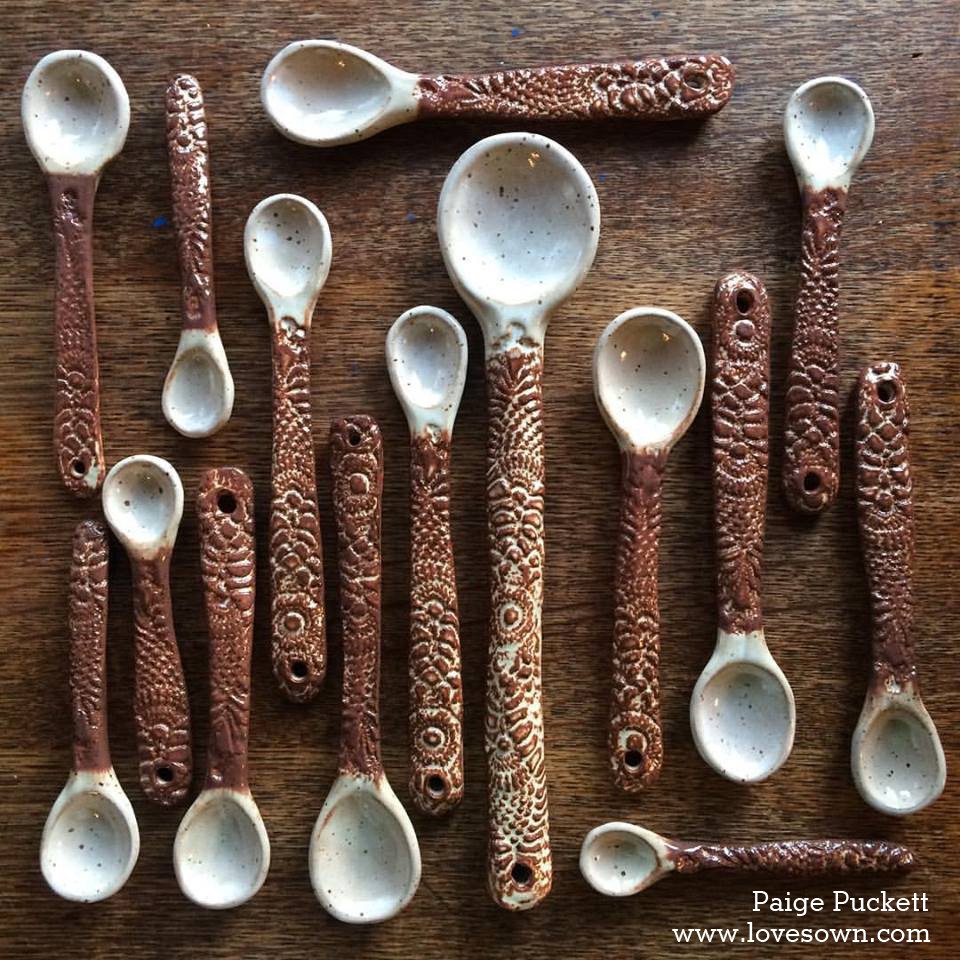
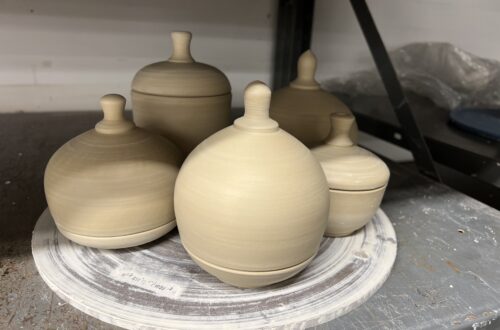
New Pots
This fall I took a class “Throwing and Altering” at the NC State Crafts Center. I didn’t do a good job altering, but I still had a fun time. These are my finished pots. I’m stilling waiting on another two to finish firing. There’s probably another sneaking around the studio without my name and number written large enough. I’ll have to track her down. They were fired in a gas kiln to cone 10. The mugs weren’t altered at all.…
-
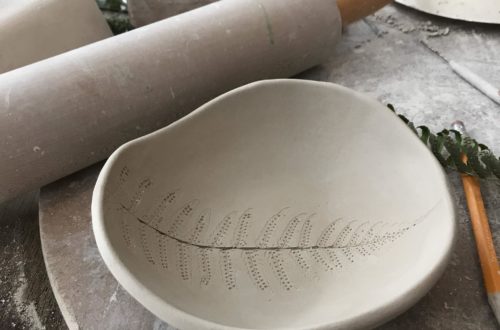
How to Underglaze Imprinted Clay
This is a simple method to underglaze an imprint in your clay piece, which is a great method for decorating ornaments with vintage letterpress, lace or other one of a kind textures and making the patterns pop. You need an imprinted and bisque-fired piece of pottery, a paintbrush, underglaze, water, and a sponge or rag. While this does waste some underglaze, the underglaze is watered down, so it spreads well. Imprinted clay, bisque fired Watered down underglaze…
-
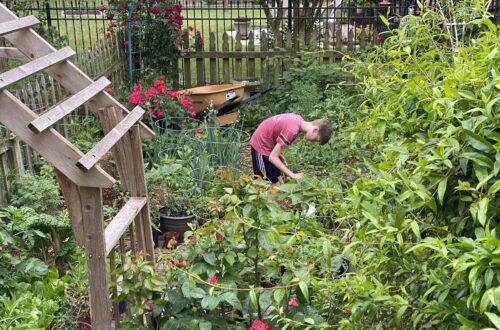
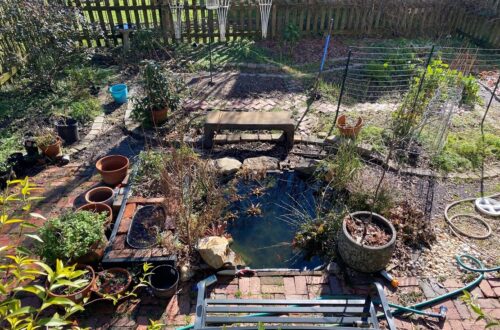
Spring Gardening
I’ve been in a major rut when it comes to writing about our latest endeavors, but in my defense, the kids were on spring break this week, and one of the boys had a stomach bug and then strep throat. This was all after I had been sick with fever and chills for three days. Early in the week, I finally fired a load of bisque, so whenever I get back to Pullen to glaze, I should have a fun…
-
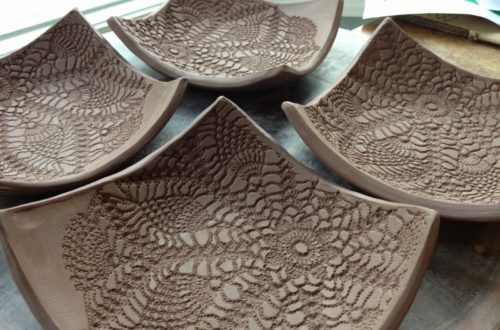
First attempt at pour bowls
I love being asked, “Do you make…”, because chances are good that I don’t, but am about to have fun trying something new. I also appreciate being able to post a question like “Do pour bowls need handles?” on Facebook and get an answer with in a few minutes. This was my first(ish) attempt at pour bowls, and I like the way they turned out. I made one many years ago that was completely ugly and now holds odd bits…