New Skills Unlocked on the Pottery Wheel!

A series of events led me to take several years away from ceramics. At the end of 2017, the community center where I had been taking classes closed for four years to undergo renovations. I shifted back to my home studio but started having issues glazing. One bad glaze run in 2019 was completely demoralizing. So many pots were wasted, and the kiln shelves needed so much grinding, that I just didn’t see the point of repeating the process. When the pandemic hit, I started incubating and raising quail chicks on top of my home garage studio, which was messy to say the least. By the time the community arts center reopened in the middle of 2021, it was a world of masks and distancing, and I’d found a new hobby. The wheel sat covered in dusty clay residue, bird feathers, poop, and bits of straw bedding.
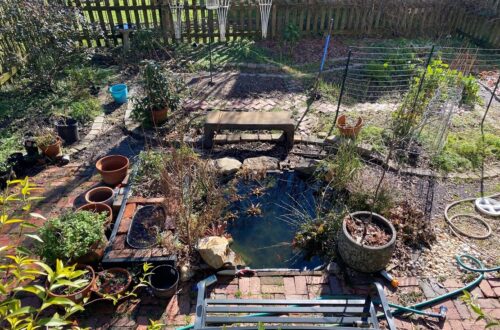
At the end of 2024, I started eyeing the wheel again and wishing I could just try a little something-something, but it was so very dirty, and all my bags of clay were hardened rocks. So I looked back towards the community arts center to see if there were any interesting classes. Sometimes the best way to return to a hobby after an extended break is to reignite curiosity by learning something new in a space that’s not your own. My favorite way to re-engage in pottery is to sign up for a community class through my city or university. The routine, structure, clean space, accountability and new relationships help pull me back in and fire back up that passion, and gaining a new skill provides a fresh way to approach clay. This February, I took a community class at Pullen Arts Center called “If it Fits”, purchased a continued studio pass, and started showing up nearly every day it was open. I continued practicing the new skill at the studio, and then on Mother’s Day, the family helped me clean up my studio in the garage.
In this class, we threw a closed form vessel, used a clothes pin to push in a flange between the top and bottom, and after allowing the clay to firm up for a few days via a few air holes in the flange, cut off the lid at the base of the flange. I’ve linked a few YouTube videos demonstrating the method at the bottom of the post.
This method was new to me, and I’ve continued to toy with methodology to suit my own style and workflow preferences. I don’t love throwing the knobs because the the process can go haywire at several points. When I first tried during the class, I ended up with s-cracks around the entrance to the knob, I made knobs twist off the pot as I tried to shape them, and I ended up with knobs with shapes that didn’t flatter the vessel. My preference is to throw a flatter top and attach a handle, but I’m also eager to master the knobs, which means leaving more clay at the top to work with and using a higher speed and softer touch (thanks, teacher Emily for that tip).
I also found my skills at coning in the top were not clean enough to prevent clay folds and s-cracks, even allowing slow drying, so I’ve started using a heat gun to dry the surface and flange just enough to be able to get the lid off sooner and take one of the following paths.
- If I am making a flat lid to attach a handle or knob, I put the lid back on the wheel upside down and compress the center of the lid more on the wheel before adding a handle like the one below or a knob like the one in the video. If attaching a knob, I carefully hollow it out from inside to prevent uneven drying or having the thick portion explode in the kiln.
- If I have thrown a hollow knob, I will place the lid upside down in a chuck on the wheel and rib excess water and grog out of the knob and lid.
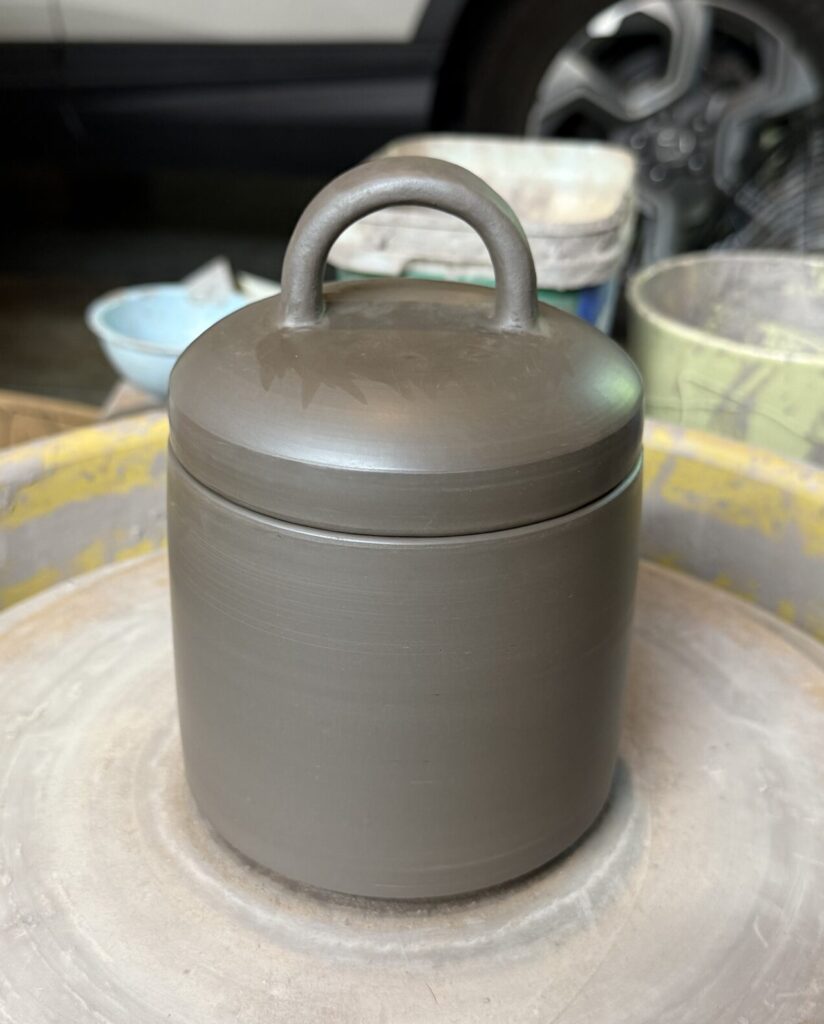
I now am throwing the form, trimming the base and lid, and attaching the handle all in one sitting. I will follow up later with trimming the base and making sure the lid still has a good fit as the jar dries under a plastic grocery bag. The video below shows a few stages of one of my own vessels. The knob was added after the lid was trimmed rather than as part of the thrown vessel.
Tools Used:
Clothespin – used for creating the flange
MudTools Sponges – used for throwing and finishing
StudioPro Bat System – I have an older system, but this is the same
Metal rib scraper for attaching handles and knobs
Kemper Pottery tool kid – needle tool used for cutting off lid, trimmers, wire cutter
Heat Gun
YouTube Related Content
Throwing a “One Piece” Lidded Jar on pottery wheel – Alchemy Ceramic
This post contains affiliate links. If you use these links to buy something we may earn a commission


2 Comments
Margaret Hogeboom
Hi Paige, I’m so happy you’re back doing pottery.
I followed you back in the day and have always appreciated your content.
We share some common interests. I’m a veggie gardener here in Michigan and I’m also a pottery hobbyist. Lastly, we have two boys, like you!
Just wanted to say hello and wish you well!
Kindly,
Margaret Hogeboom
Paige Puckett
Hey, Margaret! Thanks for dropping a note 🙂