Easy Sourdough – Start in the Bread Machine and Finish in the Oven
You will not find a recipe for artisanal bread in this post. Fancy scoring, overnight proofing, flouring a board — none of it are here. Every other day I make a simple sourdough sandwich bread by starting the dough in my bread machine and finishing it in the oven. It goes through two rises in the machine, and a third rise in a loaf pan before baking in the oven.
My method uses a sourdough starter and cheats the process by adding instant yeast. I start my loaf around dinner time and have it fully baked by 9:30 PM. While the instant yeast likely outcompetes the natural yeast in the sourdough starter, the loaf still has the aromatics of a sourdough loaf with a milder flavor. Call it a hybrid sourdough, if you will.

Sourdough sandwich bread recipe
- ½ cup sourdough starter
- 2 tablespoons whole milk
- 1 cup and 2 tablespoons of warm water
- 1 tablespoons softened butter, salted or unsalted
- 2 teaspoons instant yeast or active dry
- 2 tablespoons sugar
- 3 cups bread flour
- 1 ½ teaspoons salt
I combine all the ingredients in the order listed in the bread machine pan, turn the power on, switch the setting to “dough”, and click start. At the end of the program, I use cooking spray to grease a loaf pan and dump the dough into the pan, making sure to remove the bread machine paddle.
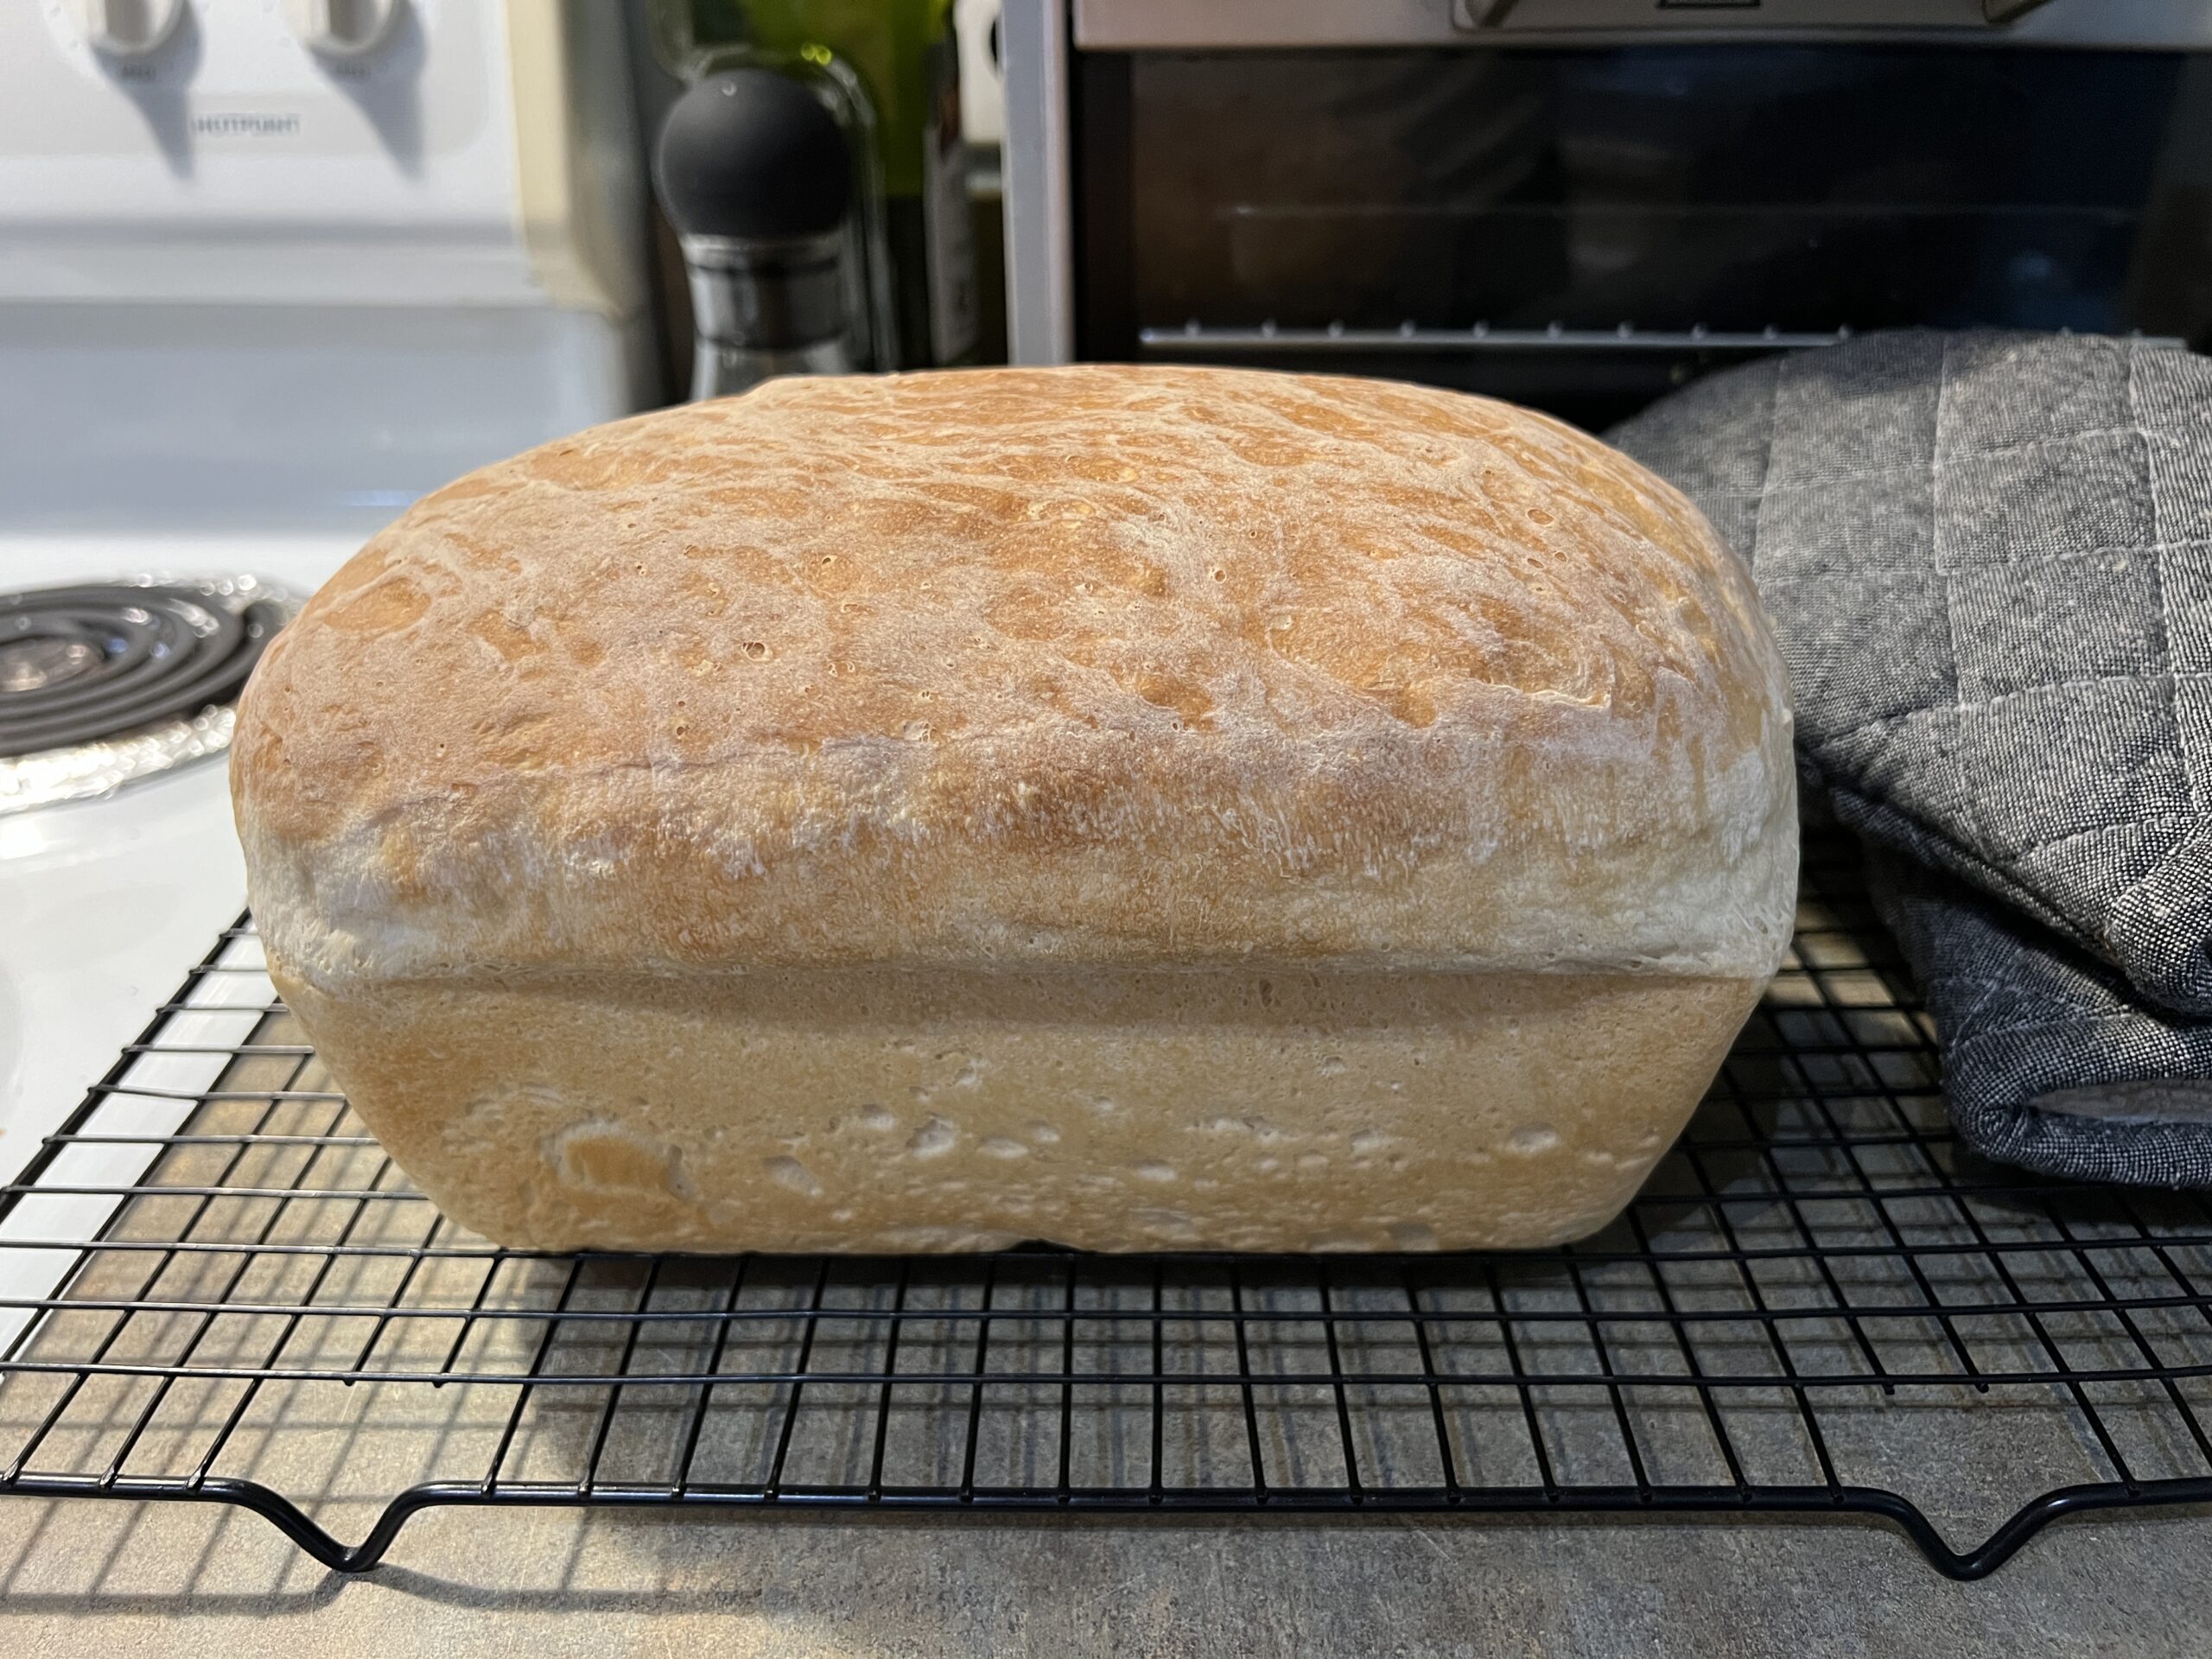
Gently, I stretch and fold over the dough in the pan a few times before leaving it to rise in the pan on the counter. Sometimes I cover it with another loaf pan, but sometimes I forget. Once the dough has risen above the edge of the pan (or sometimes its spilling out over the sides because I have forgotten to check it), I bake it in the oven on the lower rack at 350°F for 30 minutes. Immediately after baking, I move the bread from the pan to a cooling rack.
Feeding the starter
I keep a cup of sourdough starter in a mason jar on the counter and feed it with 1/2 cup of water and 1/2 cup of flour the day I bake bread. Feeding it in the morning gives it time to bubble up, but isn’t necessary. I keep the consistency the same as pancake batter, adding more flour when too thin.
Reviving a failed hobby
This bread baking routine is new to us this school year. I’m actually really terrible about maintaining any routine other than taking my nightly meds and brushing my teeth, but this is now a lovely, super simple rhythm that I find grounding and enjoyable. How did I get here? I have no interest in making beautiful works of sourdough art to share on Instagram. Professional bakers have that covered. I just wanted to make sandwiches for my kids.
I blame our favorite store-bought bread, [NAME REDACTED]. Early in the beginning of the school year, my older son texted me, “My sandwich has mold on it. Might need new bread.” I checked the bag of sandwich bread, and there were still several days until the best-by date. I always check the dates on the store bags and grab the furthest out date, which is usually on the bottom, right side of the display in most stores. A few weeks later I got a similar text from my younger son. I tried searching my text history for the words “green” and “stuff”, but the basic gist was, “Mom, there’s green stuff on my sandwich.” This was a Nutella sandwich; there should not have been any green. I was tired of buying bread that molded before its expiration, so I gave our Cuisnart compact bread machine another try.
I purchased our second bread machine early in 2023 after the rubber belt in my really old Sunbeam machine from Walmart dry rotted in the pantry. We had put some mileage on the new machine before we retired it behind the crock pot. However, it never baked a consistent loaf that was school sandwich worthy, wherein “school sandwich worthy” means kids with braces don’t have to work too hard to chew it. Lunch time is limited and precious! The bread was good as an butter-conveyance-device, but, in and of itself, was nothing delightful.
After the store-bought bread started going downhill, I hit the internet for a decent sandwich bread machine recipe. I tried a King Arthur recipe and a few others before landing on what worked best for our own preferences and rhythms. Initially I used white bread recipes with instant yeast until I was able to revive my old sourdough starter.
Reviving a neglected sourdough starter
The sourdough starter sat in the back of the fridge, starving since my last disappointing attempts of 2023. While it didn’t smell dead, I wasn’t sure it contained much life. I originally purchased the Old World Sourdough Starter in a dehydrated form from Baker’s Creek Heirloom Seeds, and I knew that if the starter wasn’t black or moldy, it likely could be revived.
Elbow grease alone could not break up the hardened, while substance at the bottom of the mason jar. I finally used a hand blender to really mix it up well with some fresh water and flour, and by the end of the week it was bubbling up happily. After researching what sourdough starter should look like, I learned that I’d kept the starter too thin and needed to add a more flour and use a 1:1 water to flour ratio when feeding.
Ongoing Tweaks
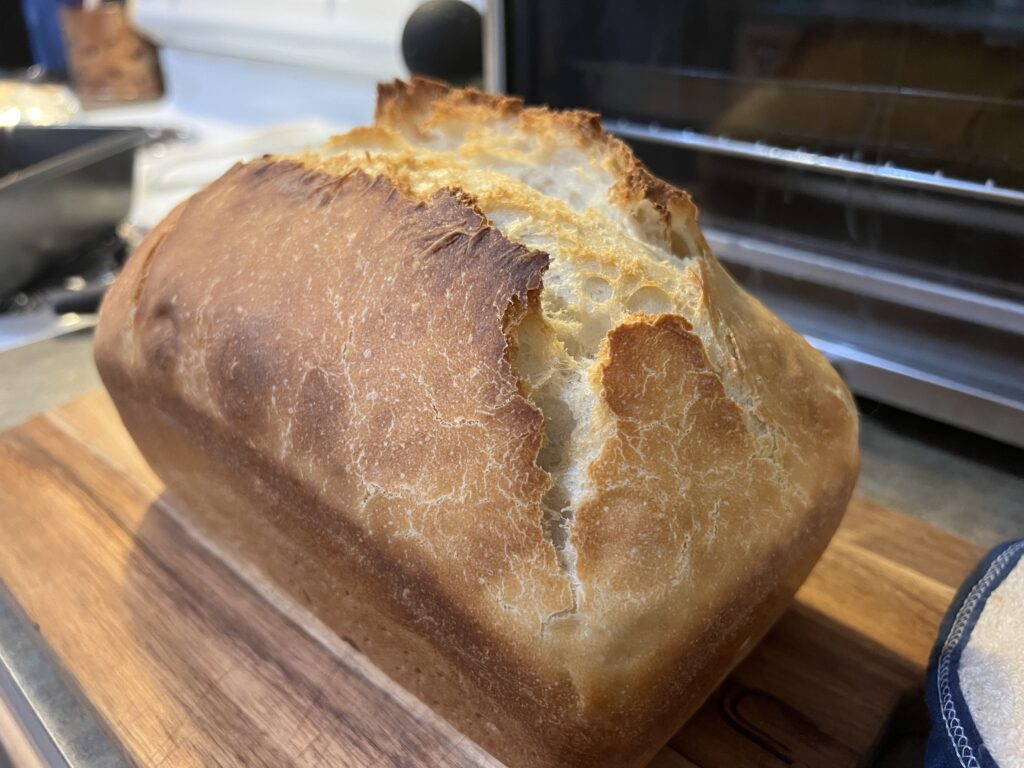
I toyed around with baking it covered at a high temperature for the first half, then removing the lid and lowering the temperature for the second half. Theoretically this creates a crispy and thin crust, but my loaves exploded every time. My sister’s advice to lower the baking temperature and leave it uncovered did the trick and provided a smooth, golden crust, not too tough. I tried using only 1 teaspoon of instant yeast but didn’t have the patience to wait on the rise time required, so landed on 2 teaspoons.

I like my hybrid loaves, and, more importantly, my family likes them too! Funnily, I found an old recipe here on my blog from 2012 where I used sundried cherry tomatoes from the garden and caramelized onions. I’m not sharing the link because that thing was a brick. I’m glad we can grow and learn. I hope this helps anyone else who may have a bread machine sitting around not being used.


