Uncategorized
Nursing Our Silkie Back to Health
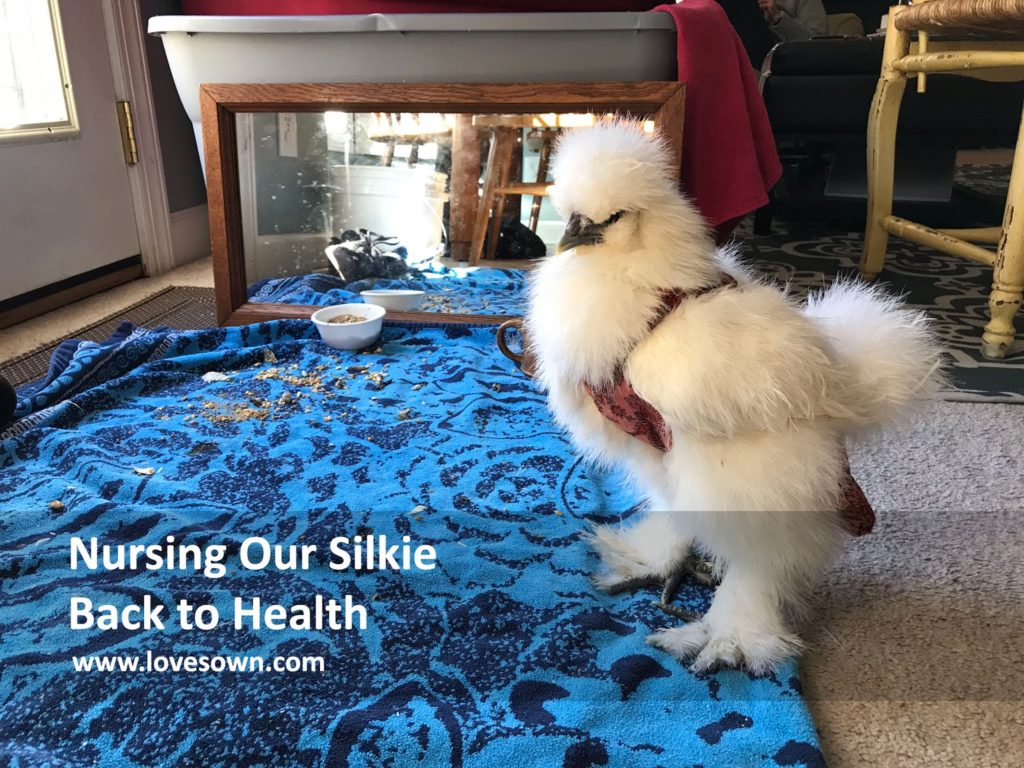
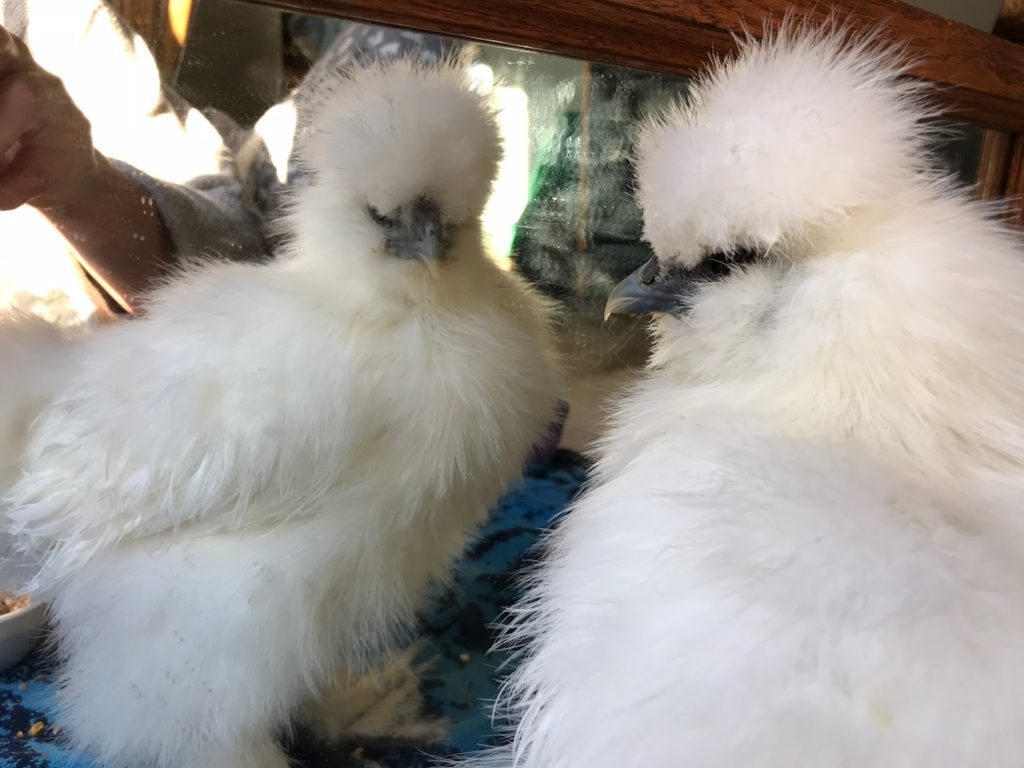
Miss Betty White has been a house guest for a little over a week now. She’s a Silkie pullet, and we think she is about 10 – 12 weeks old. She and her sister, Vader, fell ill before New Year’s Eve. Vader didn’t survive, but Betty is on the mend. When we first brought her in, she was lying on her belly in the run and was limp. There was no peeping, no walking, and her head was caught in this turning pattern which the boys said looked like she was reading a book. She kept her eyes closed most of the time. We think a combination of lice, cold temps, and fear (the big hens can be bullies) got the best of her, and she was quite exhausted and likely dehydrated. Her droppings were extremely watery and green. We haven’t seen sign of any respiratory distress, fortunately. This morning, she’s standing on a beach towel by the back door peeping at herself in the mirror. Her droppings look lovely compared to what they were. She’s not back to feeding herself enough food yet, so I’m still tube feeding her several times a day.
I wanted to share our efforts here so that I can look back later and remember what we did in case this ever happens again. This has been a learning process. When we started raising chickens this past March, I joined Backyard Chickens, which seems to be an infinite source of information not only on caring for a sick bird, but also even on how to make a chicken diaper.
Tube Feeding
For the first few days, I was alternating using a syringe and a spoon to get food in her beak and letting her swallow it. This was insanely messy and very time consuming. It was also risky as I wasn’t sure if any was getting into her trachea. I couldn’t be sure she was getting enough. Then I found a really helpful YouTube video on syringe feeding a chicken.
This was brilliant in that I could get the food straight to her crop with a syringe and tube. I called two vets, neither of which were helpful in directing me towards supplies. I found supplies on Amazon but didn’t want to wait any more time. So I drove to a pharmacy and pet store, no luck in either place, before walking up and down the aisles of the auto and home repair sections of Walmart looking for anything that could be attached to the end of a syringe.
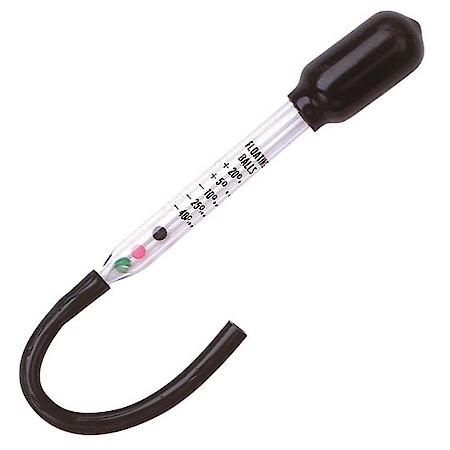
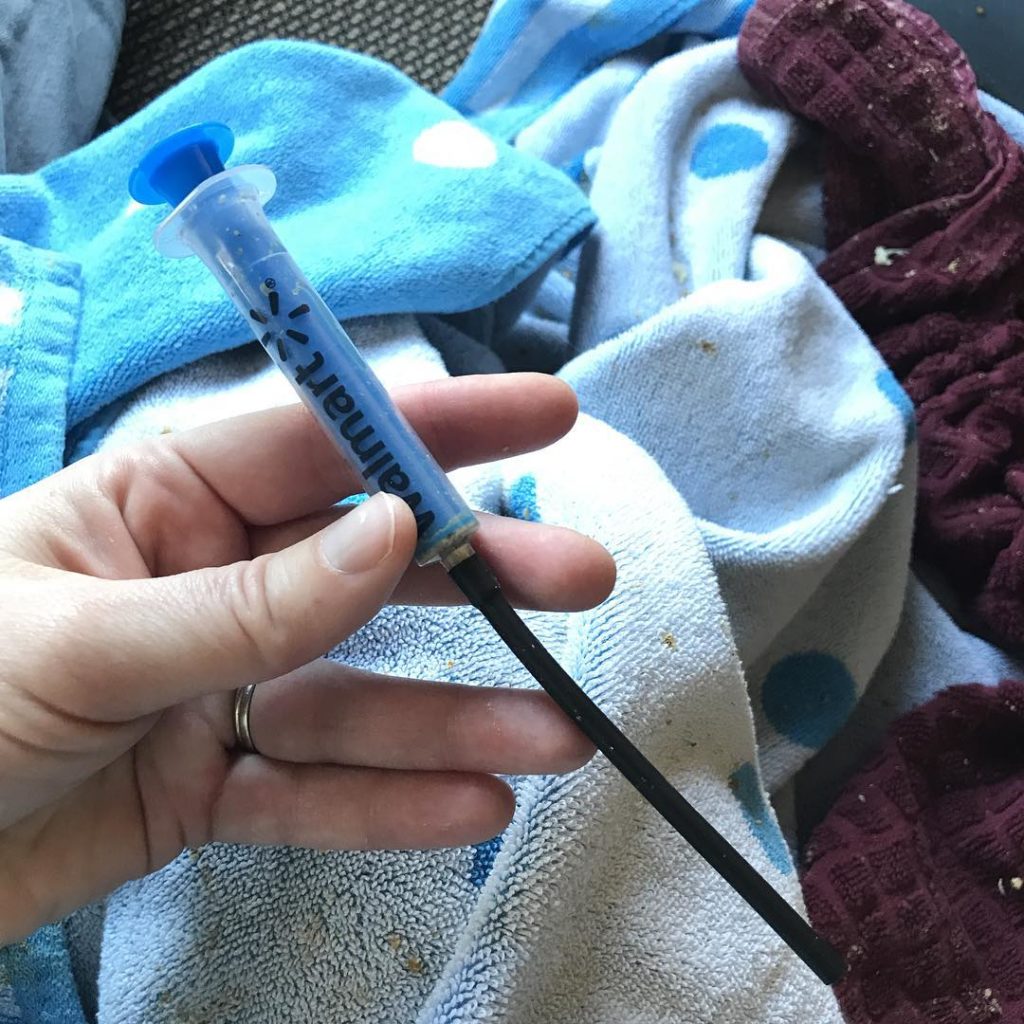
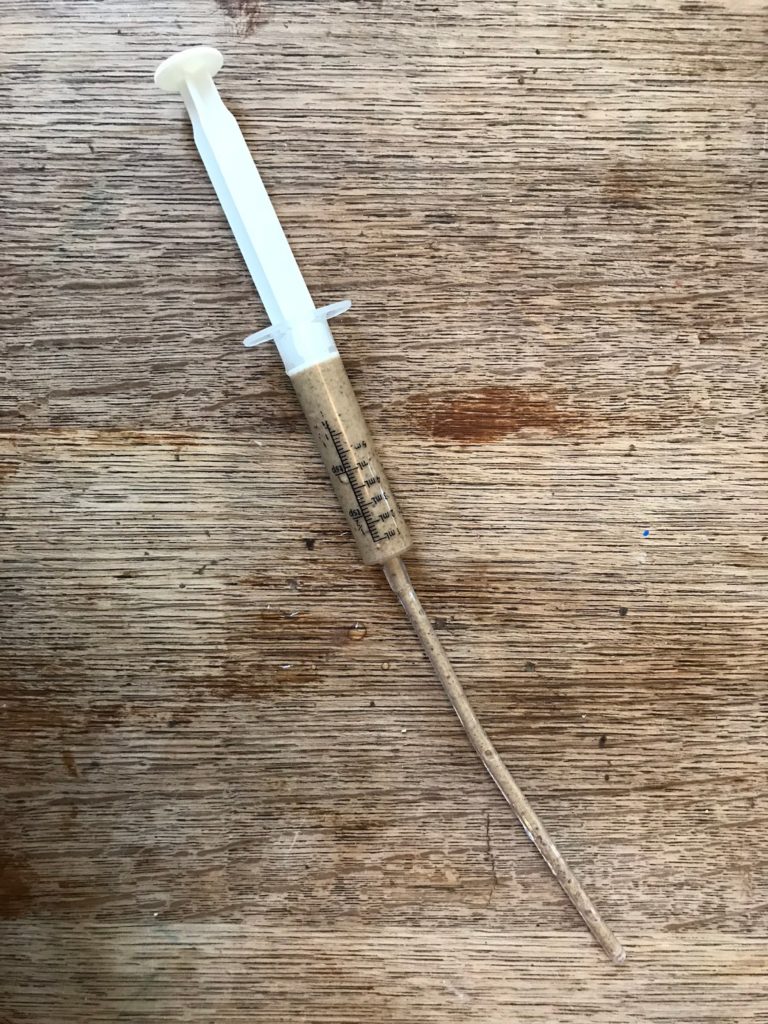
BINGO! For $0.88, I bought an antifreeze tester and popped the tube off the tester and attached it to the free syringe from the Walmart Pharmacy. I also picked up some aquarium tubing and today tried it out with a larger syringe after reading that the tube should reach the crop. My antifreeze tester tubing wasn’t long enough to reach the crop, but I used it carefully for several days since the tubing was pretty soft. The aquarium tubing is clear, stiffer, and can be cut to length. Using the larger syringe means I don’t have to run it down Betty’s throat as often.
I read that she should be eating about 1/3 cup of food a day and have tried several different ingredients for her liquid food. There are many posts on Backyard Chickens forums concerning what to feed sick chickens, so I tried different things hoping I wouldn’t do too much of the wrong thing, and I kept watching her to see how she responded. I wanted to keep her on her chick feed as much as possible, so that has always been the base ingredient. I began with a fairly runny liquid diet and am now using more of a wet mash. I couldn’t find a liquid parrot diet in the couple stores I visited. It takes about 15 ml to fill up her crop. I currently feed her four times a day, so that’s 60 ml, a little less than 1/3 cup. She’s small, so it seems to be about right for her. As the goal is for her to start feeding herself, I’ll be backing off on this slowly.
- Chick feed. I have struggled with it jamming up the top of the syringe. Once I started using a fine mesh strainer to sift out the smallest particles of the chick feed, it was smooth sailing.
- Dairy. I’m now using half and half milk, but I also tried a probiotic yogurt for a couple days at first. All I had on hand was vanilla, so I switched to half and half to avoid the artificial ingredients. I dampen the mash down with water first, then add in the dairy to bring it to a creamy consistency.
- Scrambled Eggs. I tried this once, and it was a mess trying to blend it down into the mash.
- Molasses and Corn Syrup. For the first few days, I was focused on getting quick energy in the food. I used about a teaspoon or two in the mixture.
- Gatorade Powder. Just a pinch, I figured with all the dehydration, electrolytes were needed. I was very sparing with this.
- Vitamin E Capsule. I punctured a capsule and emptied the oil into the mash.
- Parrot and All Bird Vitamin Drops. I have put a drop or two into the mash, The bottle calls for one drop per one fluid ounce of water.
Socialization
We have kept Betty away from the flock to prevent the spread of any disease in case she is carrying something. However, she needs socialization. We initially kept her in a large gray sterilite bin with wood shavings and some dirt, but I started reading about how important it is for chickens to not be alone. They actually will get very depressed! So during the day, we set her out on a beach towel in front of a sunny window. I set out a mirror midweek, and right away she perked up and started making more chirping noises. We also have found that playing YouTube videos of chickens clucking and roosters crowing can get funny reactions from her. Sometimes she will crane her neck up high and look around, sometimes she will talk back. This is as much for our own entertainment as it is for hers.
Odor Control
This part is more for us than for Betty. Chickens can smell bad, especially chickens who lay or walk in their droppings. So we change out the wood shavings in her bin regularly. We’ve also learned that although she is a Silkie and our other Silkie Luna likes to sleep on the ground, Betty actually prefers a roost now that she is able to balance again. We put a brick in her bin, and at night she sleeps up on it. This helped with the droppings as she isn’t lying in them at night. She stays much cleaner!
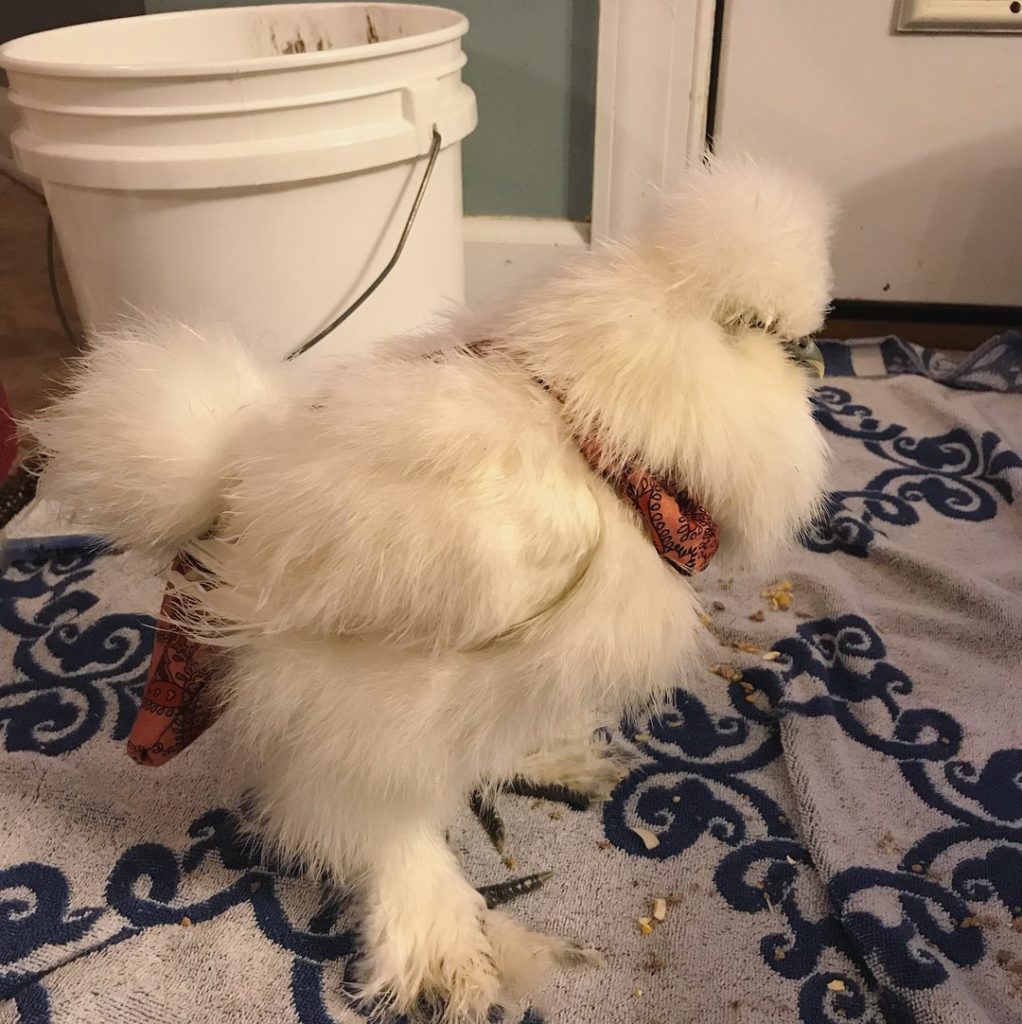
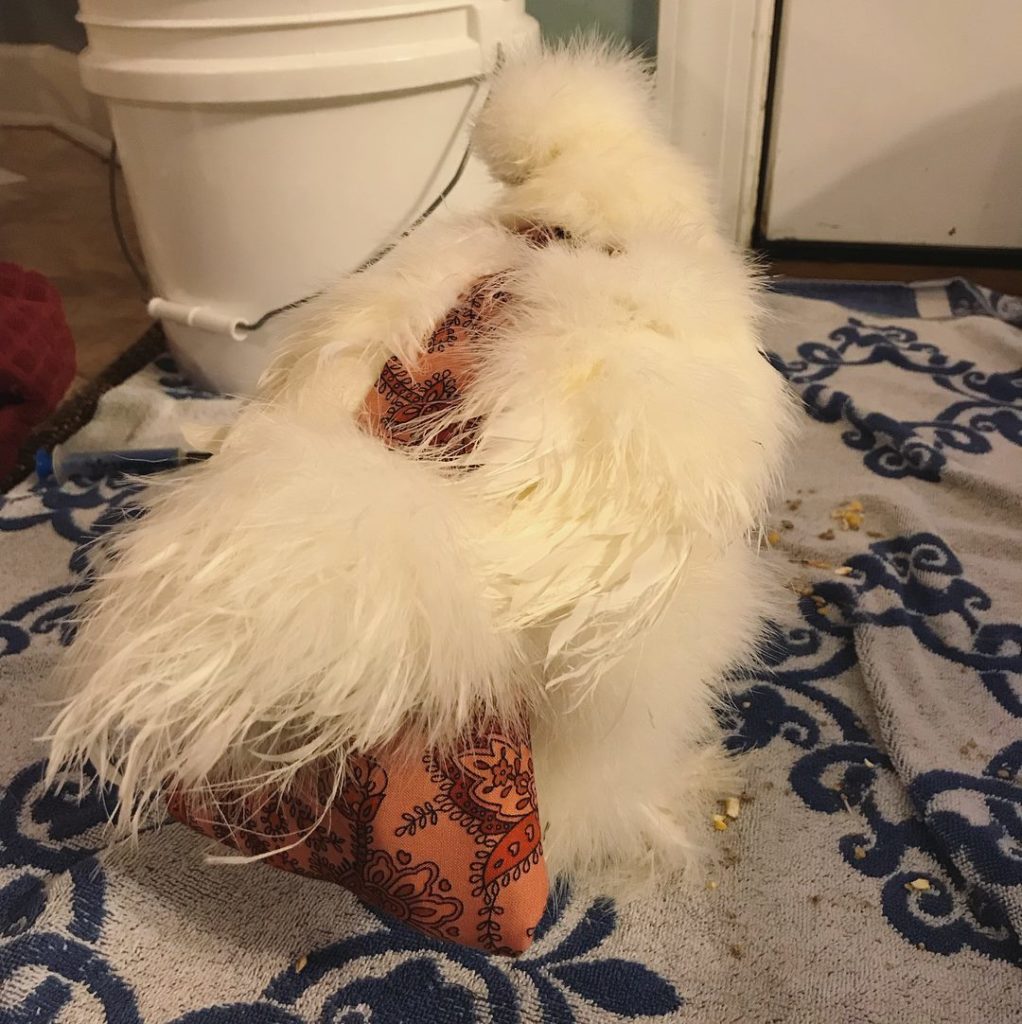
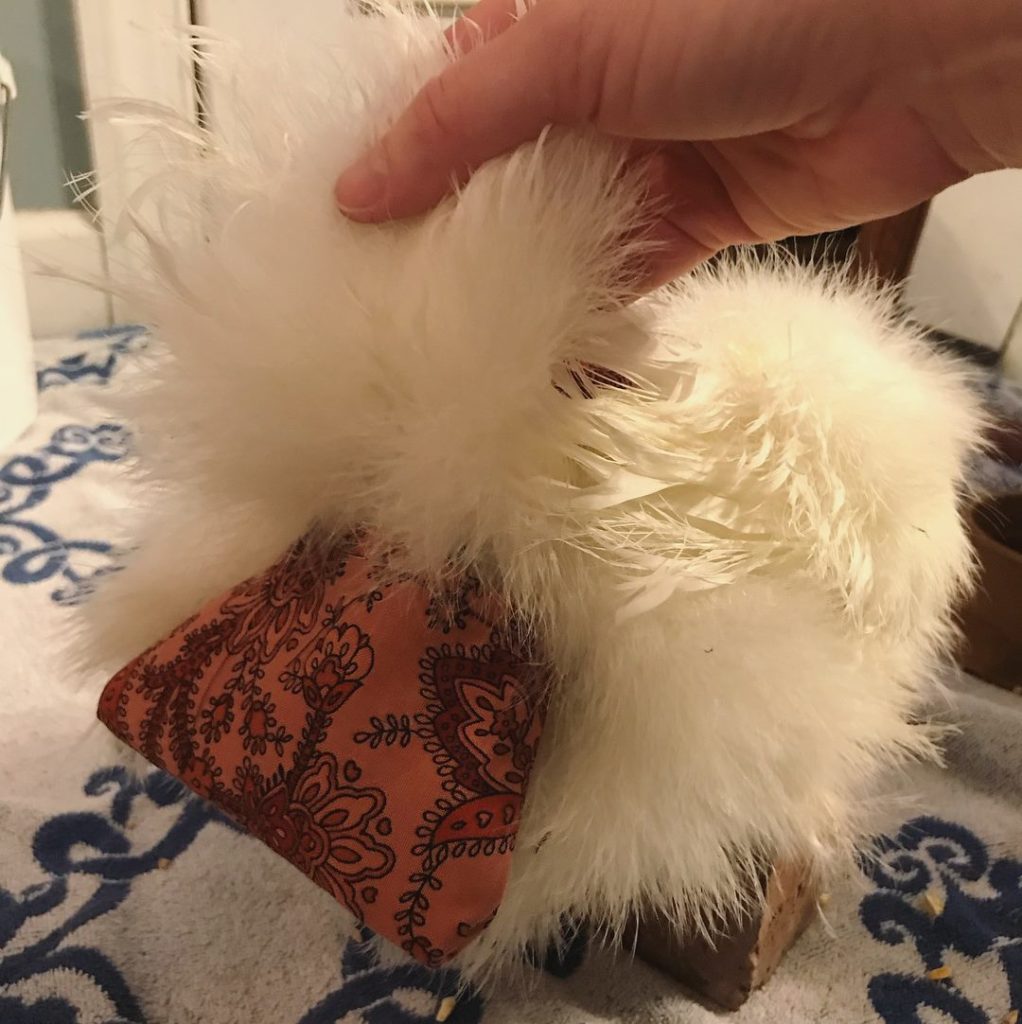
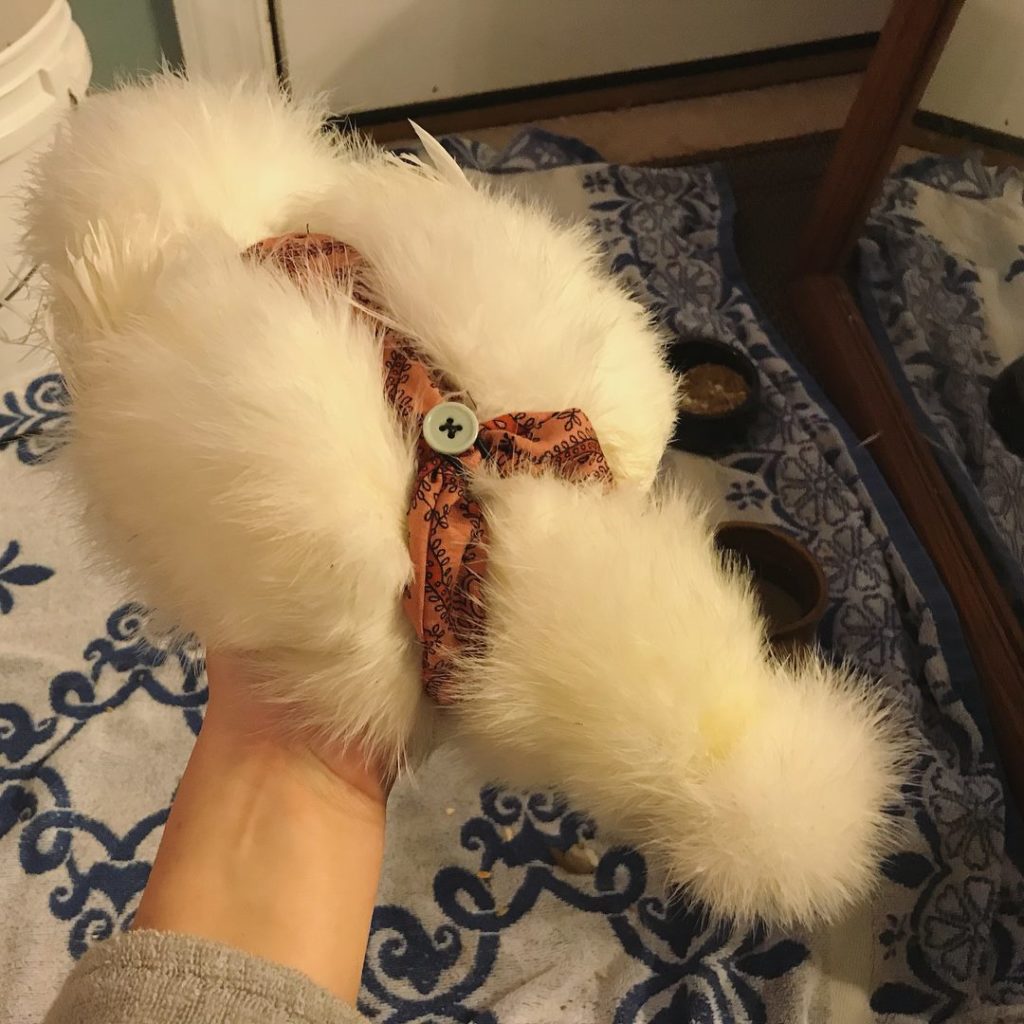
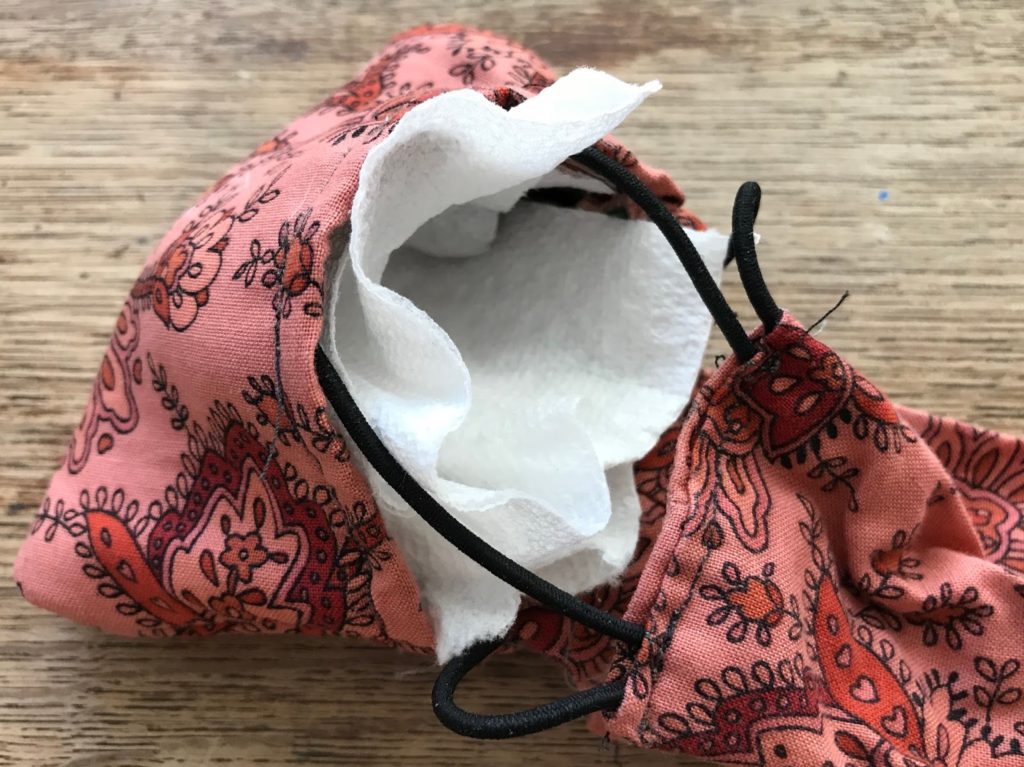
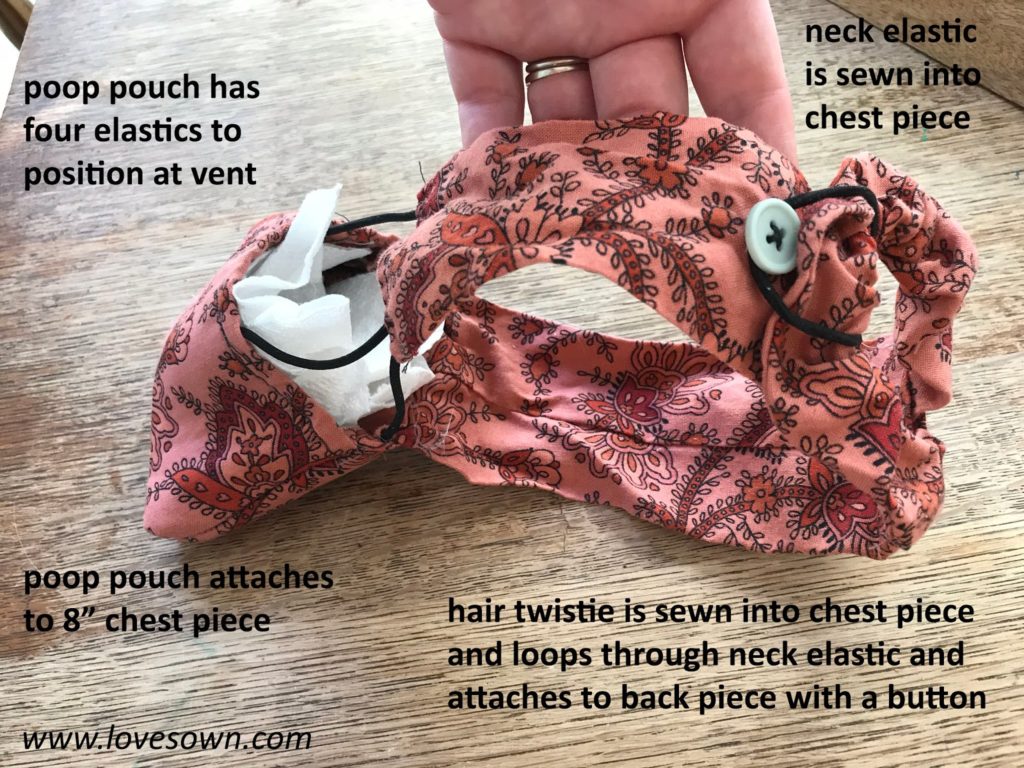
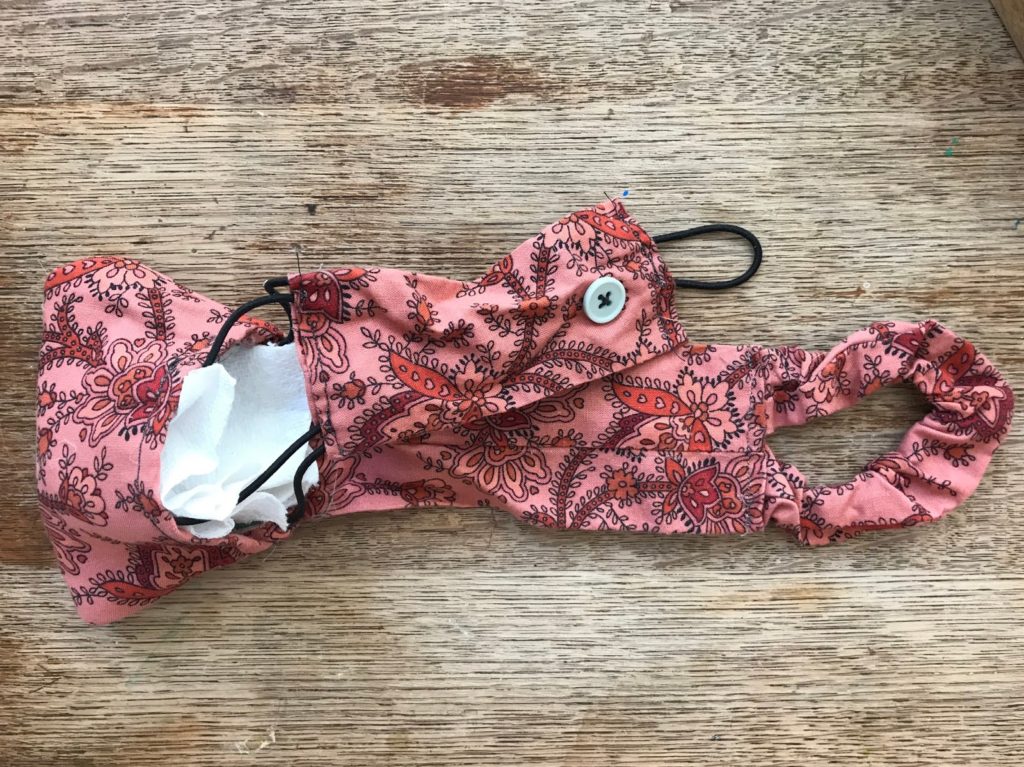
During the day, it’s easy enough to shake out a beach towel and throw it in a hot wash by itself. However, making a chicken diaper has been even better. Yes, I spent an entire day crafting and sewing and fitting and fixing, but I’ve now got a little cloth diaper for Betty. I used a quilt fabric square, hair elastics, a piece of felt, and a button. The felt layer in the poop pocket makes it stiffer and easier to position, but it also adds some weight. I use paper towel inserts in the pocket for easier cleaning and so I don’t have to wash the diaper unless there’s some smearing. By far the most challenging part was getting the chest piece to fit so that her feet didn’t get caught in it whenever she took a step.
Well, that’s it. Happy Chickening!
